
(updated Dec. 2021)
For the most part, we expect the water coming into our home to be clean enough to cook, bathe, and clean with. Depending on the kind of plumbing you have in your home, your pipes may start to collect sediment that is then passed on throughout the home. You’ll be able to see it in your glass when you go to get a cold glass of water.
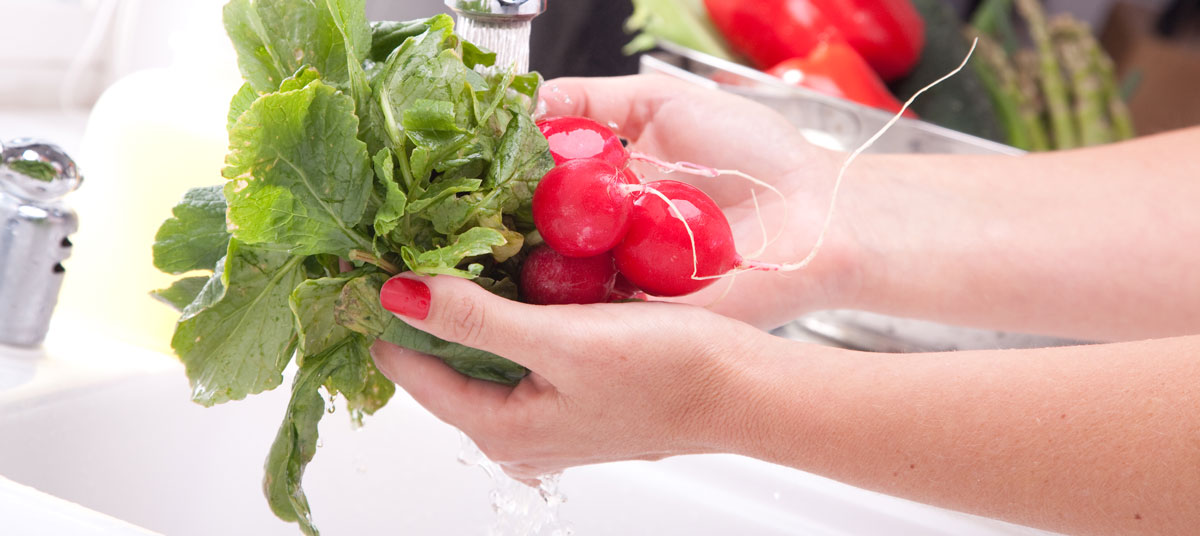
A kitchen sink water filter is a great way to ensure your drinking water is clean. A plumber can install a filter, or you can do it yourself. If you’re concerned about lead in water, choose a system that’s rated to remove lead. You can learn more about water filters and lead reduction by reading the National Sanitation Foundation’s guide. The NSF is a consumer group dedicated to standardizing sanitation and food safety.
There are two main parts to the system: An under-the-sink unit that contains two replaceable filters and a compact faucet mounted on the sink or countertop. The system attaches to the supply line in the cabinet, bringing in water that passes through the two filters and then onto the faucet.
This additional faucet will be used for drinking water or cooking. The existing faucet will be used for cleaning and other tasks that don’t require filtered water. There’s no reason to overuse the filter if filtered water isn’t necessary. This additional faucet will take the place of the sprayer or soap dispenser.
In newer homes, the water lines are flexible with updated fittings, so they are easier to deal with. With newer plumbing, you will use the “flex pipe” included with the filter to connect the cold water line to the T-joint that will lead to the “in” portal of the filter and then use the existing flex pipe or tubing for the “out” portal.
Older homes with more rigid copper piping will need a little more expertise for this procedure. It will involve cutting the pipe, soldering joints or fittings, and other more expansive steps. If your sink or faucet plate doesn’t have any additional openings, you’ll need to drill a new hole in the sink and/or get a new faucet plate.
At this point, it may just be easier to give Meticulous Plumbing a call to take care of the installation.
How to Install an Under Kitchen Sink Water Filter
Installing a filter is only for seasoned DIYers, especially in homes with older plumbing. If plumbing isn’t your thing, don’t worry. It’s our thing. We’ll install a filter for you to ensure all fittings are secure with no leaks. This will prevent an even bigger issue on the inside of your sink cabinet.
Step 1
Turn off the cold water supply to the sink, found under the sink in most homes. Turn on the kitchen tap to check the water is off and relieve pressure in the line. If you are unsure which is the cold line, turn on the hot water at the faucet, let it run, and then feel the lines underneath the sink. One will be much warmer than the other.
Step 2
Locate the cold water shutoff valve under the sink. If you have copper tubing, use a piece of emery cloth to clean it and then cut the tube just under the shutoff valve. Cut again about 1 inch below the first cut to remove that section of tubing. Slip the tee onto the bottom part of the open section.
Step 3
Outside the sink, fit a ½-inch ball valve to two pieces of copper tubing and a female adapter. Solder this assembly together before you install it. For best results, start from the bottom of the assembly and work upwards.
Fit the finished assembly onto the tee you installed with a 90-degree elbow. At this point, solder both ends of the assembly in place. Wrap Teflon tape to the reducer fitting and thread it into the female adapter while holding the adapter with pliers for support.
Step 4
Place the washer, aluminum base, and rubber gasket onto the threaded stem of the faucet. Slip the faucet into the hole and make sure it sits flat. From under the cabinet, reach up and place the mounting bracket, lock washer, and hex nut onto the faucets stem. Tighten the hex nut carefully with a basin wrench.
Step 5
Remove the plastic cover from the filter and install the required battery. Next, cut a length of the plastic tubing that will reach from the cold water line reducer you installed to the filter where it will be mounted on the back wall of the cabinet. Push one side of the tubing into the fitting on the filter and attach the remaining end to the water line at the reducer.
Cut another length of tubing that will go from the opposite side of the filter up to the faucet.
Step 6
Select the spot on the back wall of the cabinet where the filter will sit. Mark the holes and drill pilot holes and insert anchors and screws. Slide the filter down on the screws through the keyholes and tighten the screws.
Step 7
Connect the remaining tubing to the faucet under the sink using a compression fitting. Turn your water supply back on and open the faucet, letting it run until you have an even flow of water. The filtered water may look cloudy, but those are just tiny air bubbles that will stop appearing shortly.
This may test your DIY abilities. To make things easier, you can hook the filter up to the existing faucet so you don’t have to worry about installing a t-joint at all. If you get yourself in a bind during any plumbing project, get in touch. Meticulous plumbers will quickly put things right.
