
(Updated Jan 2025)
Water is the lifeblood of any home. It flows through the pipes, bringing us what we need for cooking, cleaning, and bathing. But when that water starts to leak from a faucet, it can become a real annoyance. A leaky faucet can waste water, increase your bill, and create headaches you don’t need. Fixing it may seem like a complicated task, but learning how to fix a leaky faucet is simpler than you might think. In this guide, we’ll walk you through the basics to help you fix that leaky faucet and avoid bigger problems down the road.
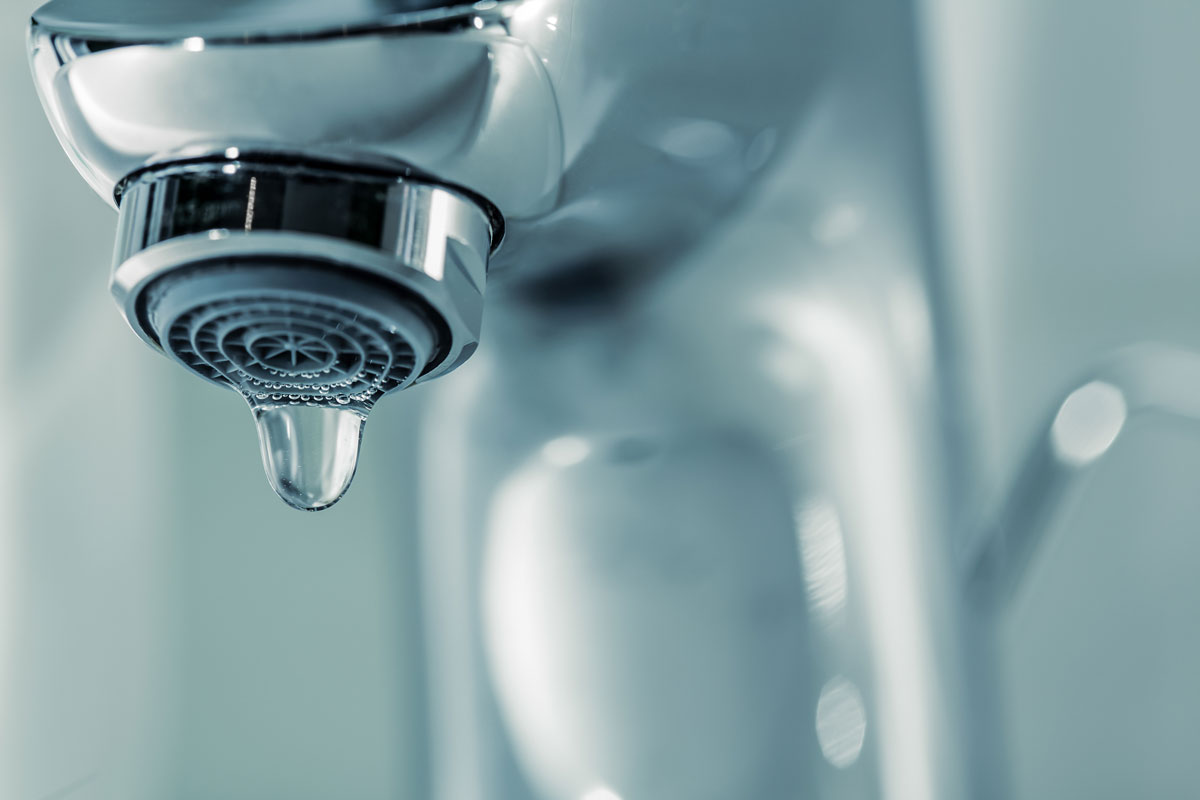
Section 1: How to Spot a Leaky Faucet
Before diving into repairs, you need to know if you even have a leaky faucet. Sometimes, it’s obvious—there’s a constant drip, drip, drip that keeps you up at night. Other times, it can be more subtle. Faucets can leak in different places, and you might need to snoop around a bit to find out where the problem lies.
A leaky faucet doesn’t always mean water is dripping from the spout. Sometimes, leaks can occur around the faucet handle, under the sink, or even inside the faucet’s mechanisms. Here’s how to check:
- Listen for Drips: If you hear water dripping, it’s clear you have a leaky faucet. But sometimes, it’s a quiet trickle that goes unnoticed.
- Feel Around: Run your fingers around the faucet handle. Is it wet? If so, the water might be seeping out from around the faucet handle or the base.
- Look Under the Sink: Check below the sink for any puddles or moisture. A leaky faucet can cause water to pool under the sink, which could lead to damage over time.
- Check the Water Flow: Turn the faucet on and off. If water keeps running or drips from the spout when it’s supposed to be off, you’ve got a leaky faucet.
A leaky faucet can develop in several ways, so it’s important to know what type of faucet you have and where the problem is occurring.
Section 2: Tools and Preparation
Once you know you have a leaky faucet, it’s time to gather the right tools and take the necessary steps before you start fixing it. To fix a leaky faucet, you’ll need to turn off the water supply and gather a few tools.
Here’s what you’ll need:
- Screwdriver (for removing screws)
- Adjustable wrench
- Pliers
- Replacement parts (depending on your faucet type)
- Towels or rags (to catch water)
Before you start, follow these steps:
Turn Off the Water Supply
You don’t want water spraying everywhere when you start to fix the faucet. Find the shut-off valves under the sink and turn it off. If you can’t find it, you might have to shut off the water supply for the whole house. Once the water is off, turn on the faucet to let any remaining water flow out.
Release Pressure
Even after you shut off the water, some pressure might remain in the pipes. Open the faucet and let the excess water drain out.
Gather Your Tools
Make sure you have everything you need, so you don’t have to go looking for tools in the middle of the job. You’ll most likely need a screwdriver to remove any screws, and an adjustable wrench or pliers to take apart the faucet.
Now that you’re ready, let’s dive into how to take apart and fix that leaky faucet.
Section 3: Taking the Faucet Apart and Fixing the Problem
Step 1: Identify Your Faucet Type
First, determine what kind of faucet you have. The most common types of faucets are compression faucets and faucets cartridges. A compression faucet has two handles (hot and cold), while cartridge faucets are usually single or double-handled.
Step 2: Remove the Faucet Handle
Once you know your faucet type, it’s time to remove the faucet handle. Start by using a screwdriver to remove the set screw that holds the faucet handle in place. In most cases, you’ll find this screw under a cap on the top of the handle.
Step 3: Take the Faucet Apart
After you remove the handle, carefully remove the screw that attaches to other components like the cartridge or valve seat. These parts control the water flow, so if they’re worn out, they could be the reason behind your leaky faucet. Pay attention to how the parts fit together so you can easily reassemble the faucet later.
Step 4: Replace Faulty Parts
Look at the valve seat, washers, or O-rings and see if any are cracked or damaged. These parts often cause leaks and are cheap to replace. If you have a compression faucet, the washer at the bottom of the stem might need replacing. For a faucet cartridge, you may need to replace the cartridge itself.
Step 5: Reassemble and Test
Once you’ve replaced the faulty parts, it’s time to reassemble the faucet. Put everything back in the order you removed it, making sure to tighten the screws and other components. Turn the water back on and test the faucet. If the leak is gone, congratulations—you’ve successfully fixed the faucet! If not, it might be time to consider replacing the faucet or calling in a professional like Meticulous Plumbing.
FAQs
How do I know if I have a leaky faucet?
Check for dripping water, moisture around the faucet handle, or puddles under the sink.
What tools do I need to fix a leaky faucet?
A screwdriver, adjustable wrench, and pliers are usually enough.
How do I turn off the water before fixing a faucet?
You need to shut off the water by turning off the valves under the sink or even turning off the main water supply to your house.
Can I fix a leaky faucet myself?
Yes, with some basic tools and patience, you can fix a leaky faucet yourself.
Why does my faucet leak?
Leaks often happen because of worn-out washers, O-rings, or valve seats that need replacing.
What if I can’t fix my faucet?
If you can’t fix it yourself, it may be time to call in a professional plumber like Meticulous Plumbing.
If you don’t feel confident enough to fix a leaky faucet or replace a faucet yourself, don’t worry! The team at Meticulous Plumbing is here to help. We offer professional, friendly service to make sure your plumbing is in top shape. Call us today to fix that faucet before it turns into a bigger problem!
