
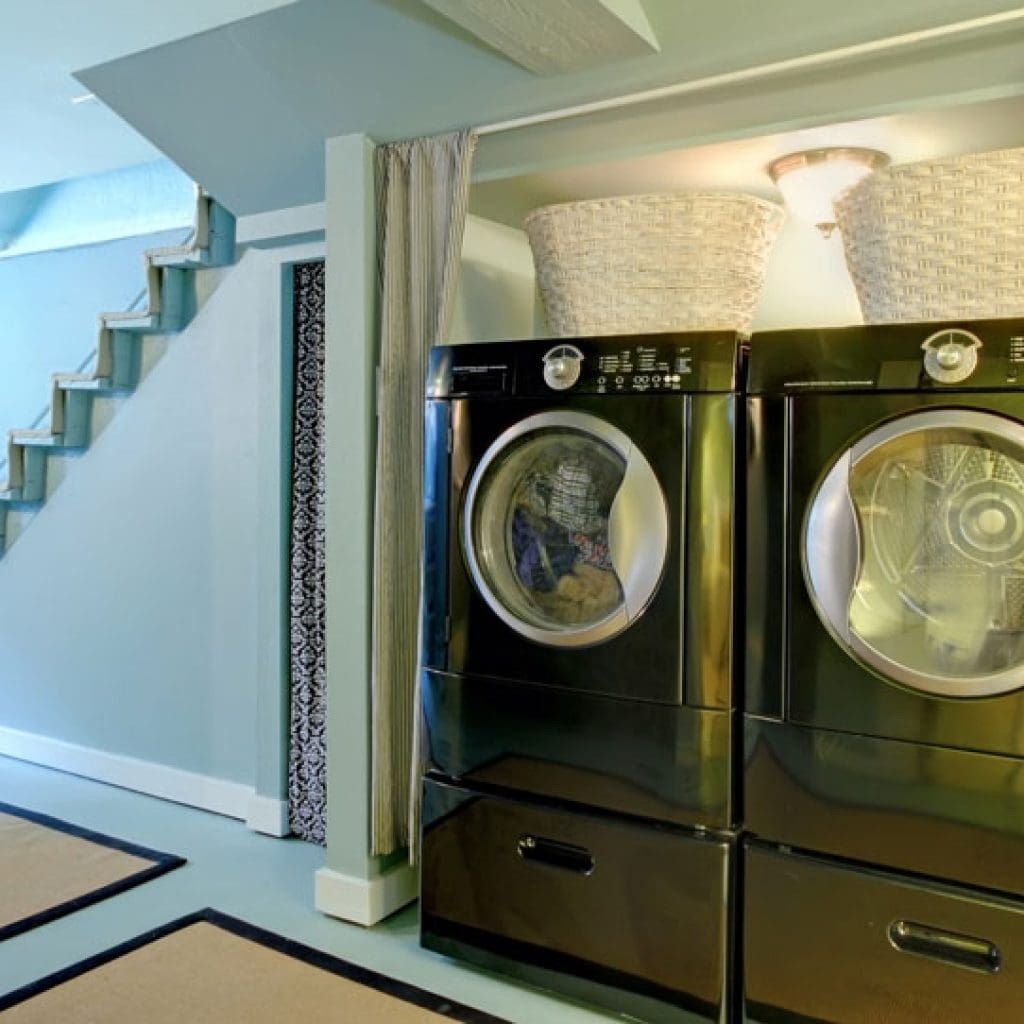
Is Your Washing Machine Not Draining Properly? What Homeowners Should Know
If you’re noticing water pooling in your laundry room or your clothes come out wetter than usual, you may have an issue with your washing machine drain. Whether you’re dealing with a clogged drain hose or planning to install a washing machine in a new laundry space, understanding the plumbing of a washing machine drain—and what it takes to plumb one correctly—is essential.
In this guide, we’ll walk you through common problems, how a standard washer drain system works, and what’s involved in plumbing a washing machine drain the right way.
Common Symptoms of Washing Machine Drain Problems
Before we get into the installation side of things, let’s talk about signs that your washing machine draining isn’t going as it should:
- Water backs up in the laundry sink or standpipe
- Slow drainage or water left in the tub after a cycle
- Leaks around the drain hose or behind the machine
- A musty or mildew smell near your washer and dryer
- Gurgling sounds in nearby drains during the wash cycle
If any of these sound familiar, your drain line may be clogged, improperly vented, or not installed to code.
Understanding the Anatomy of a Washing Machine Drain
Most clothes washer setups include:
- A stand pipe (usually 2 inches in diameter and at least 18–30 inches tall)
- A drain hose that connects to the washer and empties into the stand pipe
- A trap (P-trap or S-trap) that holds water to prevent sewer gases
- A vent pipe that allows air in so water can flow properly
- Optional connections to a laundry sink or sink drain
The washer pumps out water through the drain hose, which must be securely inserted into the stand pipe or laundry sink. The system must also be vented correctly—either tied into your home’s existing vent stack or via an air admittance valve (AAV).
Step-by-Step: Plumbing a Washing Machine Drain
 1. Plan Your Drainage Layout
Before running out to Home Depot, plan how your washer will connect to your plumbing system. Will it drain into a laundry sink, a stand pipe, or directly into a drain pipe?
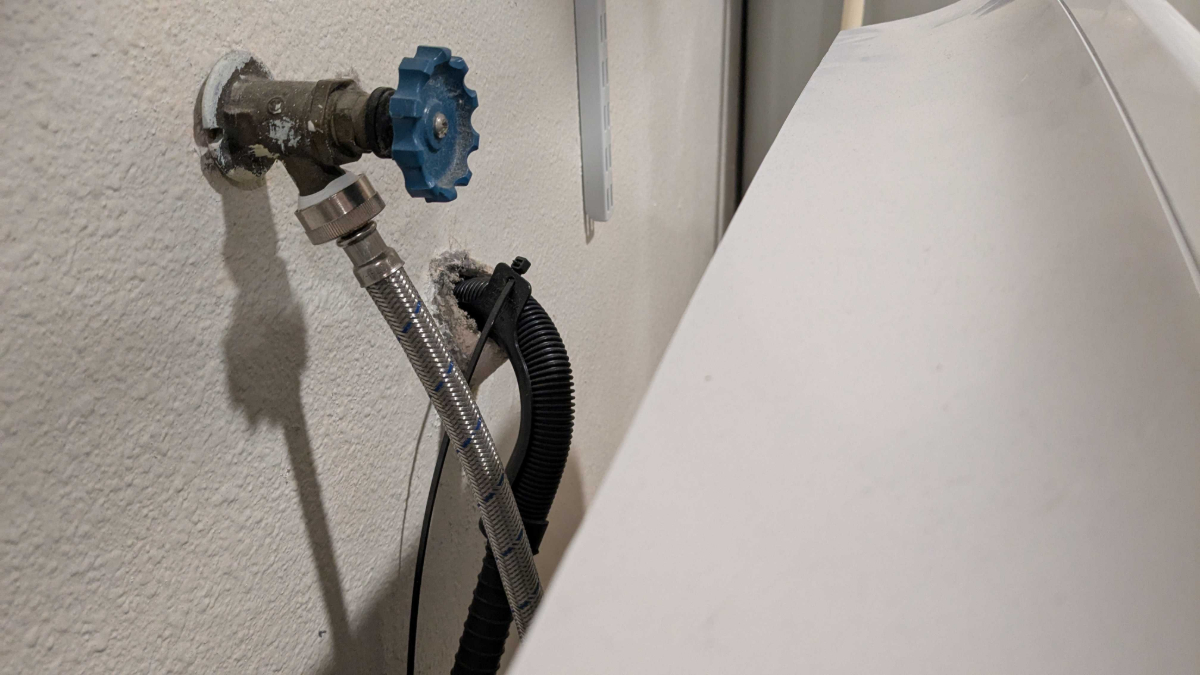
Also, consider proximity to hot and cold water supply valves, electrical outlets, and venting options.
2. Install the Stand Pipe and Trap
Use 2-inch PVC or ABS pipe to build your stand pipe and attach a P-trap below. The stand pipe should be high enough to prevent water from siphoning back into the machine and secured to the wall.
Pro tip: The trap must sit above the floor but below the stand pipe inlet.
3. Connect to the Main Drain Line
Use appropriate fittings to connect the trap to the home’s existing drain line. It’s crucial to maintain proper slope—typically 1/4 inch per foot—for gravity drainage. This part often requires cutting into a main drain pipe, which can be a job for a professional plumber.
4. Add a Vent Pipe
Improper venting can lead to slow drainage, gurgling sounds, or sewer odors. Tie into an existing vent pipe or install an AAV if code-compliant in your area.
Without ventilation, water won’t drain properly, and negative pressure can suck water out of the trap—leaving your laundry area vulnerable to sewer gas.
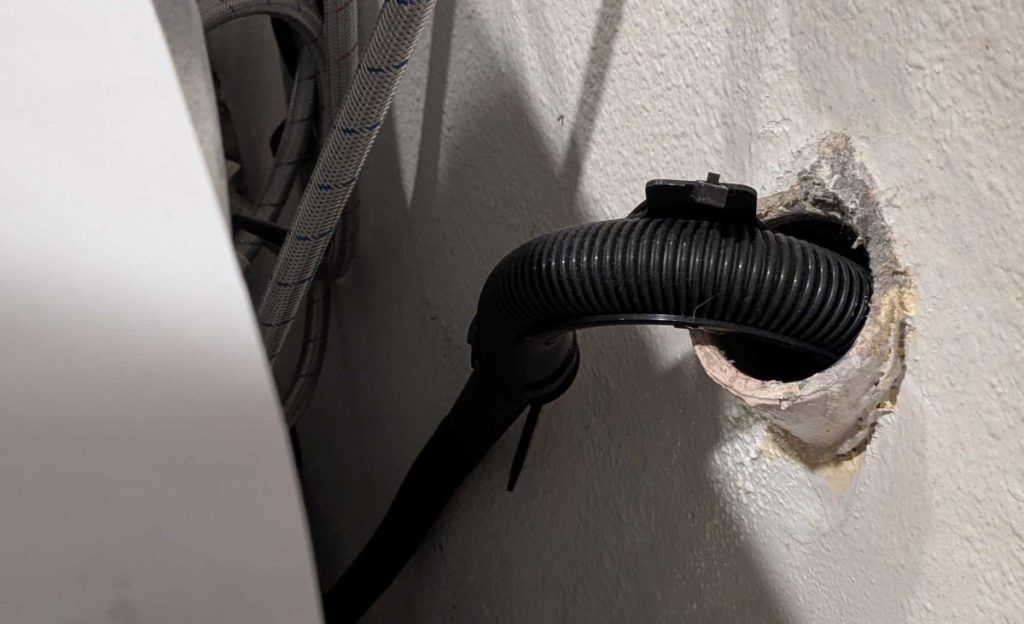
5. Attach the Drain Hose and Secure It
Connect the drain hose from the washing machine to the stand pipe. Make sure the hose fits snugly and is secured in place with a strap or zip tie to prevent it from popping out mid-cycle.
Avoid inserting the hose too deeply—it should rest about 6–8 inches into the pipe.
6. Check for Leaks
Once everything is connected, test the system. Run a full rinse or spin cycle and check for leaks around all connections, including the sink drain if a laundry sink is involved.
Also, verify that the washer drains quickly and doesn’t back up into nearby fixtures.
Cleaning and Maintenance Tips for Washer Drains
Even the best drain system needs upkeep. Here’s how to keep yours flowing freely:
- Flush the drain line occasionally with a mixture of hot water and vinegar
- Clear out lint and debris from the drain hose
- Clean or replace clogged air admittance valves if installed
- Check your laundry sink for slow drainage or odors
- Schedule annual plumbing inspections with a licensed professional
Plumbing a Washing Machine Drain: DIY vs. Professional
While it’s possible to DIY some parts of a washer installation—like connecting a drain hose or swapping out a washer and dryer—plumbing a full drain system is often best left to a professional. Here’s why:
- Cutting into existing drain pipes or vent stacks requires knowledge of building code
- Improper slopes or venting can lead to drainage issues and water damage
- You may need a permit for significant plumbing changes
- A licensed plumber can identify and resolve problems you might miss
Meticulous Plumbing offers clean, expert installation that respects your home and ensures your system is built to last.
What If You’re Relocating Your Washer and Dryer?
 Relocating your washer and dryer to a new part of the home (like a garage, basement, or second floor) adds complexity. You’ll need:
- New hot and cold water supply valves
- Electrical upgrades for the washer (and possibly dryer)
- A nearby drain line or new connection
- Proper venting (especially for the dryer)
- Reinforcement of floors, if necessary
It’s not just a matter of moving appliances—it’s about plumbing them safely, efficiently, and to code.
Alternatives: Using a Laundry Sink or Utility Sink
If you don’t have a stand pipe, your washer can sometimes drain into a laundry sink or utility sink. This can be a great option in older homes or tight spaces, but it still needs to be vented and connected properly to your main sink drain or sewer system.
And yes—you still need to check for leaks here too.
FAQs About Plumbing a Washing Machine Drain
- Can I just drain my washing machine into a sink?
Yes, if the laundry sink is properly connected to a vented drain line and large enough to handle the washer’s discharge rate. It’s common in older homes or utility rooms. - What size pipe is needed for a washing machine drain?
A 2-inch stand pipe is standard and required by most plumbing codes. The attached drain pipe must also be 2 inches to handle the flow without backups. - What if my washing machine drain is backing up?
Check the drain hose for clogs and ensure the stand pipe or trap isn’t blocked. Sediment, lint, and detergent buildup are common culprits. If that doesn’t fix it, the issue may be deeper in your drain line or venting system. - Do I need a vent for a washer drain?
Yes. Without a vent pipe, your washer can’t drain properly, and sewer gases could enter your home. Venting can be done through the roof or via an air admittance valve if allowed in your area. - Can I buy the materials at Home Depot?
Yes. Most Home Depot locations carry everything from drain hose kits and stand pipes to P-traps, pipe fittings, and AAVs. But sourcing the materials is one thing—installing them correctly is another. That’s where professional help matters.
Call Meticulous Plumbing for Expert Washer Drain Solutions
If your clothes washer isn’t draining like it should, or you’re thinking about relocating or installing a washing machine, don’t gamble with your home’s plumbing. Meticulous Plumbing offers professional installation and repair services in Portland with an emphasis on permanent solutions and respectful, clean craftsmanship.
From fixing a slow drain to rerouting a full washer and dryer setup, Meticulous Plumbing has you covered. Call today to schedule a visit or get a quote—your laundry (and your peace of mind) deserve it.
